Value Statement

Working with you and for you to make your memories last forever.

Like me on Facebook and follow me on Twitter

Showing posts with label local photography. Show all posts

Thursday, 4 December 2014

Announcing the engagement of Alanna and Les

Just wanted to take a quick minute and post some photos from an engagement shoot I did last week. As the Christmas song says "Oh the weather outside was frightful" -4 Celsius and these two kept laughing and playing right up till dark.


I thought it a nice touch given the cold to have a little nose kiss with the love heart in the Christmas tree


Nose kisses were the order of the day


These two show the love they have for each other in every smile. Such a perfect couple.


Thank you Alanna and Les for allowing me to share in this special day and I look forward to the wedding in just a few short weeks

Wednesday, 19 November 2014

Photoshop Tutorial

It is amazing how photographers will take a photo and shelve it based on small little errors when in reality you can use editing software to create something wonderful that makes your subject truly stand out. In this blog I will do my best to give you a blow by blow blog about a Photoshop edit from a recent photo I created.

This photo was taken at recent shoot I did for a city council hopeful and the venue was amazing. I want to first thank The Royal Hotel for allowing me to shoot in their lobby. I am really looking forward to going back there to capture more photos. I would also like to thank my subject Menu who is a super lady and a whole lot of fun. Now onto the edit.


This first photo is the original shot. I have said it before and will again a great edit starts from a great photo and I really like how this turned out. It has all the sharpness I need, the skin tones are nice and even and there is an interest that has been captured. That being said there are some negatives about it as well. I find the leaves dangling in front of the window very distracting, I don't like the sign poking out from her shoulder and lastly the phone cord drives me nuts. Finally there will be a little enhancing of Menu's already perfect smile and hair. Let's get into it.


Whenever I am editing a photo I always change what I dislike the most so for this photo I didn't like how contrasty it was. When this photo was shot I was using a flash with a 6x8 inch soft box which mounts to my speedlight. Even with the flash I still shot quite high ISO so the flash did not have to fill in so much light as to make the photo overly bright.

Step 1 the first thing I did was soften it a bit with a bit of noise reduction.

Step 2 was to bump up the exposure about 1 stop of light; it was just a bit dark but still had so much detail in the highlights and lowlights.

Step 3 was to replace the window I had a photo of this window in my catalogue of stock photos and I thought this would dramatize the photo just a bit more. Replacing the window is just a matter of cutting it from the original pasting into this photo and blending to make it look right.

Step 4 I used the clone tool to remove the phone cord

Step 5 grab the brush tool, sample the colour of her lips and "fix her lipstick" Now this step could have been done before the shot was taken but it was spur of the moment and neither of us thought about the fact her makeup was fading that late into the evening.

Step 6 is perhaps the most important. I used levels to brighten the photo and then with a layer mask I blocked out the section I didn't want brighter. What that equates to is just highlighting her hair and face.

That is pretty much it, now some purists will say that I changed the photo and they are not wrong. What they will fail to recognise is that I could have done the same things in a darkroom with film and hours upon hours of dodging and burning. Photos have always been manipulated to one degree or another and even the most amazing photographers in the world spend time cleaning up irritations in their photos. The difference between film and digital is time. What I can do now in my post editing software is instant, whereas what I did in film could take hours if not days.

Anyway here is the after post photo. As I said before, this photo had all the elements of a good photo to start with; I just perked it up a little. Hope you enjoy and please comment below and like my Facebook page to follow everything I do.


Thursday, 31 July 2014

Sardis Digital Clickers

I have had a lot of time consumed lately with a new project. Coming in September I will be facilitating a camera club/learning program. Meeting the third Tuesday of every month at Sardis Library, in my home town of Chilliwack BC, we will have fun learning and exploring all aspect of photography.

http://www.fvrl.bc.ca/programs.php?programType=All&fromDate=&status=1&programSearch=Search+for+Programs&library=Sardis&toDate=

So if you want to learn more about how to capture great moments, or some editing techniques, or just want to help others please come down and check it out. Oh and don't forget your coffee/tea and your camera.

For now I will leave you with an image I shot 3 years ago. It was quite dull and bland until I found a mask technique called luminosity masking. Pretty powerful editing style.
Vancouver Skyline

Hope you like it.

Monday, 27 January 2014

Seven Steps To Lightroom Magic

With the recent release of Abobe Lightroom 5 for a mere $149.95 the amateur photographer now has the ability to enhance and improve a photo in the comfort of their own home. Lightroom is really the digital equivalent to a chemical darkroom back when we all shot with film. The enhancements that were done in the darkroom would improve exposure, clarity, contrast, pretty much everything you can now do in Lightroom. Let me take you through the steps I go through with most of the photos I create.


Here is a shot of my Lightroom catalogue. From this catalogue I can search for photos using a variety of methods from keyword searching, to star rating, and a host of other ways. Once I identify photos I would like to edit it's as simple as highlight them and click the develop tab.


To the right is the first view you get when entering Lightrooms develop module. You will have a series of thumbnails across the bottom and the thumbnail you want to work on is highlighted and appears in the main viewing area. The photo you see here has not been altered from the original in camera shot.


Down the right side of the work palette you will see the basic menu where you will begin tweaking your photo from good to great. It is important to remember that the path to a great photo is starting with a great foundation and looking at the photo I am working on it has the right recipe. The composition I really like, the lighting and exposure is very good and now to make a few fine tuning adjustments.


I like to start with the highlights, shadows, whites, and blacks, in that order. I will make adjustments using the sliders and when I work the whites and blacks I use Alt while adjusting them. This makes the screen appear black and when I start to "Clip" (a phrase used when ever or under exposing)the blacks or whites it shows on the screen.


You see how the adjustment sliders have been altered and now the photo has a little more punch. I think it's on its way to a great portrait. Next a little clarity and variance.


Here is the portrait after clarity and hue have been adjusted. The third slider in this grouping is saturation. I tend to avoid using this slider as I feel that when the photo is printed the colour tends to become quite garish and unreal.


Now that we have made these adjustments we can sharpen and vignette the photo giving it a clear definition and a little artistic feel.


Before
After
And here it is the finished product. All the changes made to this photo were done in Lightroom and I have done these same adjustments in my darkroom, when I still shot film. People argue that by doing this enhancement you are not staying pure to the original picture, however there is no difference between what was done here in Lightroom and what I used to do in my darkroom. Your photos can be far better with just a few moments of time and a little tweaking here and there. It is no different than what photographers have been doing since the beginnings of time.


Monday, 7 October 2013

When Shooting becomes overwhelming

Ever notice how often life gets overwhelming. I would like to give you a quick example of what a week for me looked like this past summer. I don't do this to complain, actually the opposite is true, we all get busy but when you are doing something you love it just doesn't seem that bad. So sit back read about a week in late August and next week we will get back to our tutorial on using your camera in manual.

DAY 1

 It started on a Thursday when just after 10 AM my cell phoned chirped an appointment alert. Now I wasn't that stressed about it cause anything important I give myself a 24 hour and 1 hour alert, so imagine my surprise when I checked it and discovered I had to be on location for a filming shoot for a pilot local cable TV show. No camera equipment in my vehicle I had to race home load up and head to the location arriving a mere 10 minutes late, which I blamed on traffic. We filmed all day and then I took my wife to YUK YUKS comedy club that evening for an entertaining time with friends.

 Day starts at 7:00 AM ends 2:00 AM

DAY 2

Now my day did start a little slower as I didn't have to do anything till 10 AM so slept in till 9. Then it's time to hit the computer and start work on the film that was shot Thursday.

At about noon I decided, all beit late and not smart, that the volunteer t shirt I would be wearing on Sunday shooting Chilliwacks Flight Fest should have my LOGO on it. Now if you have read earlier posts you may have seen the one about LOGOs and how important I think they are, well I also said that you should have professionals do that work and shirt logos are no different. I did not follow my own advise and due to the lateness of the hour I decided to go with an iron on printed at home. I couldn't find any iron ons in clear only white so the shirt did not turn out as nice as I had hoped but I learned from this mistake and will change things in the future.

That night I had the opportunity to shoot KAT at Party in the Park, a local Chilliwack festival. Now this girl is amazing. I have shot her in the past and love being involved in her career. She won EMI & MOA record recording contract 2012. She has been featured on Jan Arden's Being Jan  and continues writing and recording her own flavor of music. Look her up on Facebook, Twitter, You Tube. I was home about 9 and had to work the photos for her social sites that night. Post production done at 2 AM sent via WeTransfer to her manager. Off to bed.

 Day starts 9:00AM ends 2:30AM

Day 3

Preparation for Friday nights Hangar dance shoot and following airshow shoot. Now if you've never been to the Chilliwack Flight-fest hangar dance and dinner you are missing something amazing. The food is incredible with a full steak dinner with baked potato and Chilliwack grown corn on the cob. After the dinner there is an evening mini performance by some of the performers flying the next day. Shoot into the evening, have a few beverages, home late , do post on photos that are needed for the next day bed.

 Day starts 8:00 Am ends 2:00AM

Day 4

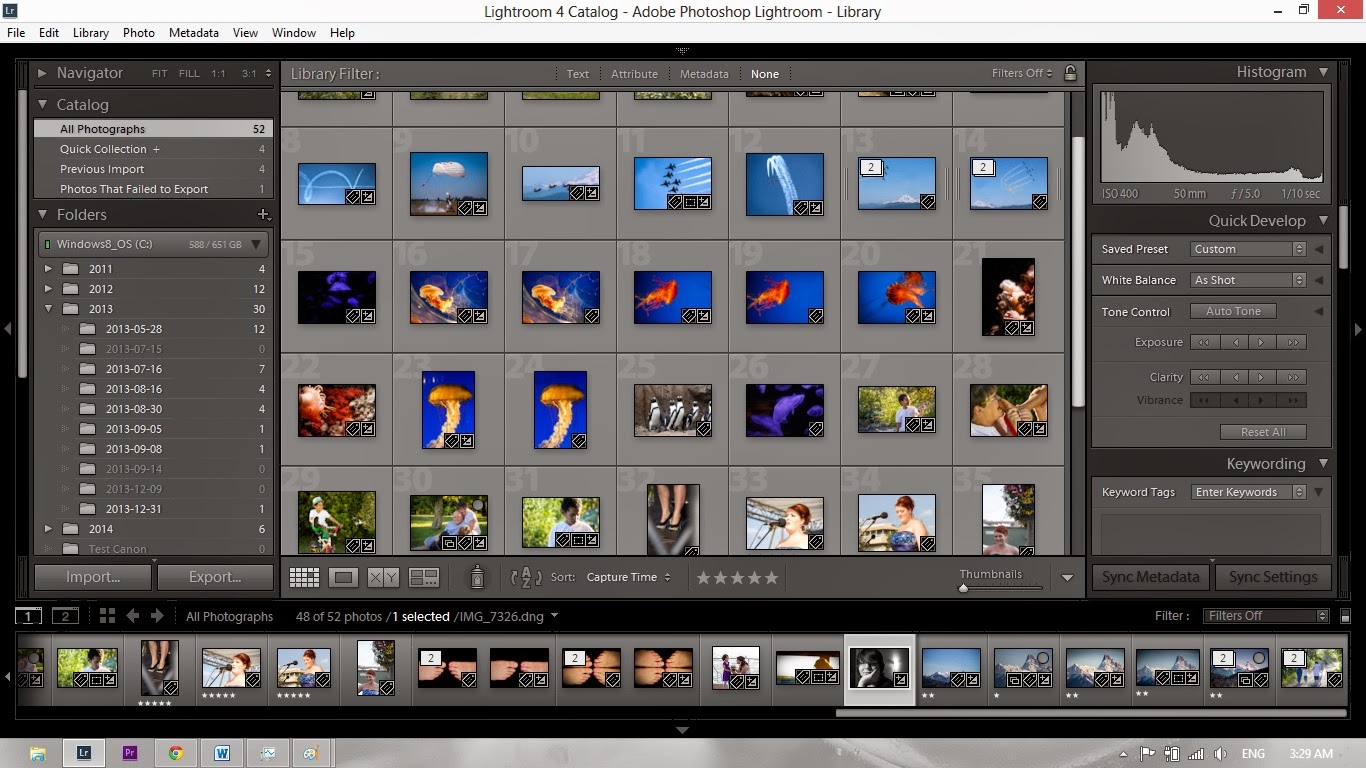
Start the day shooting the Flight-fest volunteers setting up for the day. A pancake breakfast for the community and then on with the show. Now this is my second year covering the event and it is a true honor to be the exclusive photographer for the event. Between B25 Mitchel bomber, spitfire, wing walker and stunt planes this was a photographers dream. The weather was amazing and the photo ops even more so.


Day starts at 6:30 AM ends 10:00pm

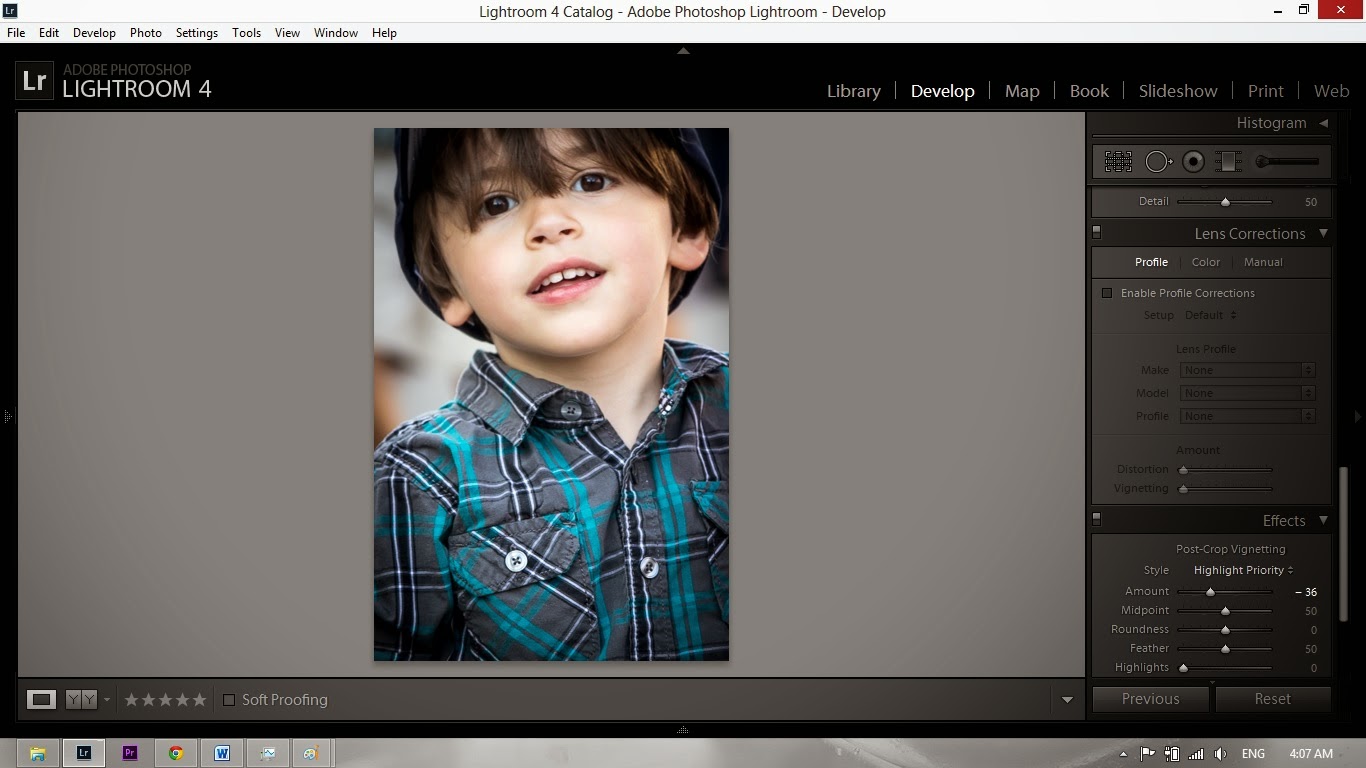
Now comes all the editing and when you shoot that many venues in that short a period of time it is very critical to get the best from your manual settings as you can so there is very little editing to be done. By Thursday, and after working at my other full time job 36 hours, my editing is done and all photos are in the hands of the clients. They are happy. I am happy. Now onto a new photographic day.

Saturday, 10 August 2013

Destination Photography: Harrison Hotsprings

The beauty of Harrison Lake
It's almost time for my wife and I to make our quarterly trek to Harrison. This is a delightful location for both of us to decompress, re-energise and relax. Located just off of highway 7 in the Fraser Valley, about an hour and a half from Vancouver, this is a world-renowned location that attracts visitors year- round for its splendour, beauty and (most importantly) its hot springs.

Arriving in Harrison I strongly suggest taking a wander down to Muddy Waters Cafe where they serve breakfast all day. Or, if you're interested in some lunch, they boast the best nachos in town. I've had them on more than one occasion and I can honestly say the boast is not idle.


After lunch you can take a casual stroll along the park and lake; the town of Harrison takes great pride in their parks, as you can see in this photo. If the kids are along as well, you will find the communities brand new playground close to the man-made lagoon. Luckily, just a two minute walk away there's a refreshing lake with a sandy beach for those who no longer hear the call of the monkeybars.


 If you're there with someone special, maybe you want to just sit and watch the waves at the beach.


If you enjoy the outdoors there are also some spectacular hiking trails. If water sport is your passion there are boat rentals, guided fishing adventures, or relaxing beach side. Of course the greatest of all is the hot springs which has given Harrison its worldwide fame.

If you are staying at Harrison Hotspring Resort then you have access to the hot springs at their source. There is much more to see and do check out the community tourism page for all the latest and greatest of events.

On the path around the Resort


Accommodations are plentiful and available in a variety of price ranges. Be sure to shop around for pricing and specials. My favourite is the Harrison Ramada Hotel. They offer frequent deals, and the rooms are newly renovated, some with spa tubs and king-size beds.

Just a couple doors down, the Harrison Hairstyling and Day Spa is there for all your relaxation needs.


For evening dining I would recommend the Blackforest Restaurant. The food is simply to die for and the service has always been above and beyond exceptional. I enjoy the schnitzel Madagascar and believe it is the best schnitzel I have ever eaten. If you prefer, there is a sushi restaurant on the main street that I also recommend.

With so much to see and do in Harrison, I believe you will, like me, find more than enough reason to go back again and again and again. Don't forget your camera, because Harrison is full of beautiful and secluded spots, boasting everything you want in a nature shot (mountains, water, beaches, blue sky) as well as quaint little areas in town just begging for a snapshot.